To make money in your opening week of Probably Stolen, trade food against customer demand, inspect purchases, and keep enough cash for rent before buying upgrades. Use the Apprentice specialization on Price Gouge for the tutorial route described here, since its starting resources and expenses should not be assumed for other setups. Scavenging, relabelled counterfeits, and Furnace production offer additional opportunities, but each needs a separate decision about cost, customers, or risk.
Protect your starting cash and rent
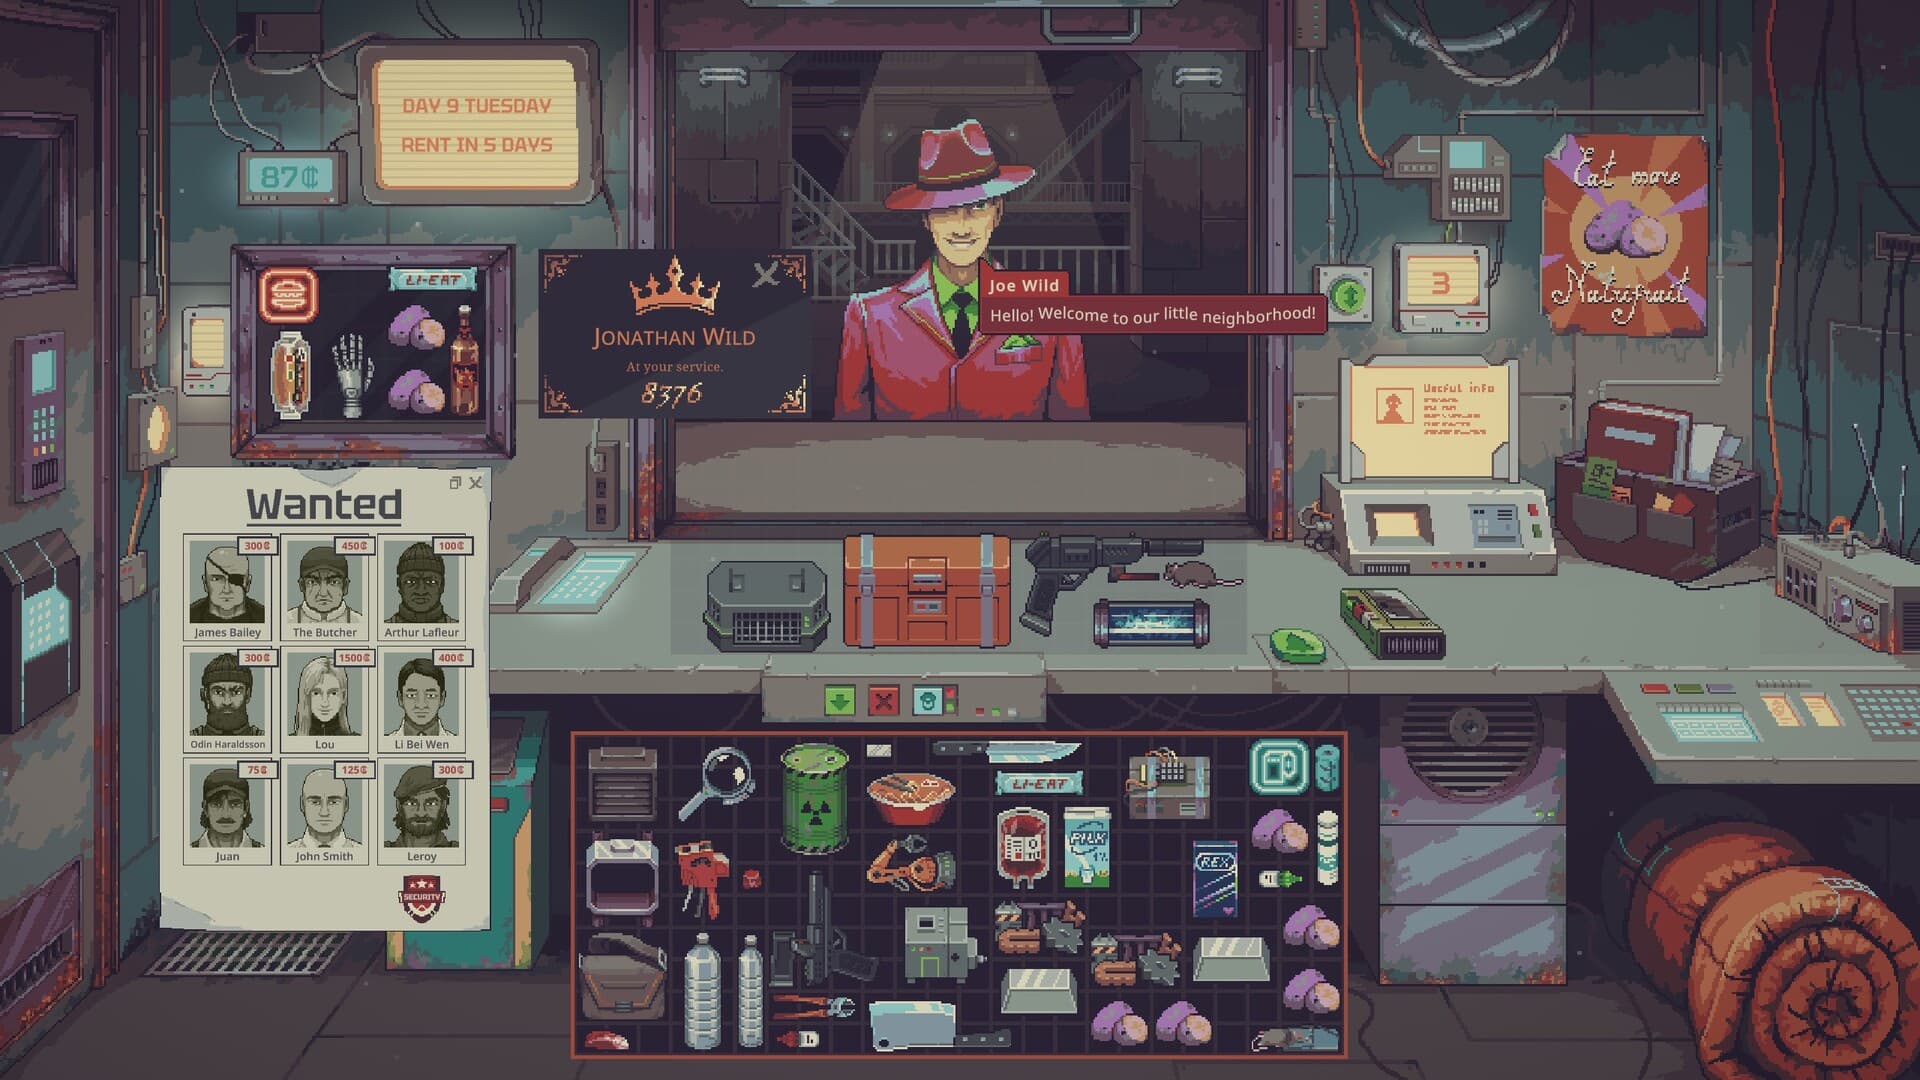
Apprentice starts with 550 credits after equipment costs, a Storage Bay, and a weekly rent bill of 200 credits. The broader starting allowance is 600 credits before the specialization kit is paid for, so do not budget as though all of that remains available to spend. Apprentice also includes the full tutorial without penalties, making its Mentor lessons a useful starting point for learning purchases rather than immediately committing your money to expansion.
Treat rent money as committed cash when deciding whether you can afford another purchase, because paying rent is part of finishing the week. The tutorial route records a $5 electricity payment when closing the opening day and using the sleeping bag, so stock is not your only expense. That electricity figure belongs to this route, while the wider warning is that rising rent, confiscated goods, and bad deals can undermine later payments.
Sell what your customers actually want
Food is a sensible category to learn with because the Mentor describes it as the station's most traded commodity. Open the tablet and read the receipt's Interests section whenever you are unsure which goods suit the customer currently in front of you. A player also reports finding food and household supplies easy to move, but that experience is a suggestion about stock selection, not a promise that your next visitor will buy them.
Ordinary customers are randomized, so adapt to the people who arrive rather than copying another player's exact sequence of purchases and sales. Displays and the neon sign influence the types and levels of customers who visit, giving you a way to connect inventory with likely demand. The walkthrough's displayed lead pipe attracted a weapon buyer; use that as an example of matching a display to merchandise you can sell, rather than expecting the same buyer on schedule.
Buy selectively, even when a deal looks cheap
Wholesale purchases receive a discount, but the tutorial also allows you to inspect and buy individual items instead of taking the whole batch. Before accepting a bulk offer, compare its contents with the customer interests you can check and the merchandise you are trying to attract buyers for. A lower purchase price alone does not establish a profitable sale, so consider a smaller selection when the rest of the batch has no clear place in your trading plan.
Barter is another way the tutorial lets you exchange stock, and its example involves a customer offering blood bags, scratch tickets, or scrap metal for food. Those choices describe that encounter, so judge the offers you actually receive instead of treating them as a fixed exchange table. If scrap metal becomes an option, weigh its possible Furnace use against your need to sell goods for rent, rather than assuming every barter item is immediately useful.
Count the cost of a scavenging trip
The Mentor supplies a bag and bandages before introducing night trips to the Dumping Grounds, where you can find more items to sell. Taking that trip means missing a customer because you stayed out late, unless you have the perk that removes this drawback. Compare the opportunity to acquire stock with the trading opportunity you give up, especially when your existing display and inventory already fit the customers you are trying to attract.
Scavenging also gives you limited attempts and displays probabilities for minor and major injuries, which deserve attention before you continue searching. An injury can interfere with further trips for days, so the cost extends beyond the customer missed after a late night. Use scavenging as an optional stock source with an opportunity cost, rather than treating found goods as an unlimited, risk-free answer to a shortage of cash.
Inspect counterfeits before risking your money
The counterfeit lesson uses Hemingway cigarettes and an identification guide covering differences in the logo, seal, and color. Use the magnifying glass supplied with that lesson to examine those details before deciding what a packet is worth buying. In the demonstrated cigarette encounters, confronting the seller about a discrepancy reduces the asking price; this supports careful inspection without establishing a universal discount for every suspicious item.
The Mentor later supplies a labeler, and the tutorial demonstrates relabelling counterfeit cigarettes before selling them at a substantial markup. Its customer advice favors tourists, upper-level customers, and scavengers while warning against lower-level citizens and security personnel. That advice is not a safety guarantee, because counterfeit and stolen goods carry consequences, and confiscation can turn an apparently attractive purchase into a problem for the rent payment.
Add Furnace production only when you can afford it
Later in the tutorial route, Dr. Jackson offers a Furnace that converts scrap metal into ingots, with the purchase recommendation conditional on having the cash. The operating example places an energy cell and at least two pieces of scrap metal in the Furnace overnight. Before committing money to that equipment, consider the material requirement alongside your rent obligation rather than assuming the machine will immediately cover its own cost.
Dr. Jackson subsequently offers Furnace modules, which the walkthrough installs after he leaves, adding another possible equipment purchase to assess. Keep the Mentor's price-event lesson in mind: abundant supplies lower prices, and the illustrated event makes materials less valuable the following day. Read the event you receive before planning around a materials sale, because that example does not establish a price calendar you can safely apply to every opening.
Choose upgrades without spending the rent
Joe Wild introduces optional nightly protection against theft, while his favours provide a route to upgrades. The tutorial says favour can come from improving reputation with the lower levels or subscribing to his protection service, so these choices connect with future development as well as the current night. Check the protection service's cost before opting in, and keep the rent obligation in your budget when deciding whether to use it.
The walkthrough chooses the Red Imp Brewery contact and Showcase Expansion 1, then uses the phone to order from the brewery. These are examples of spending favours and using a supplier contact, rather than a compulsory combination for covering your opening rent. Finish by serving the customers and paying what you owe, then consider expansion from the money your actual trades have left available.